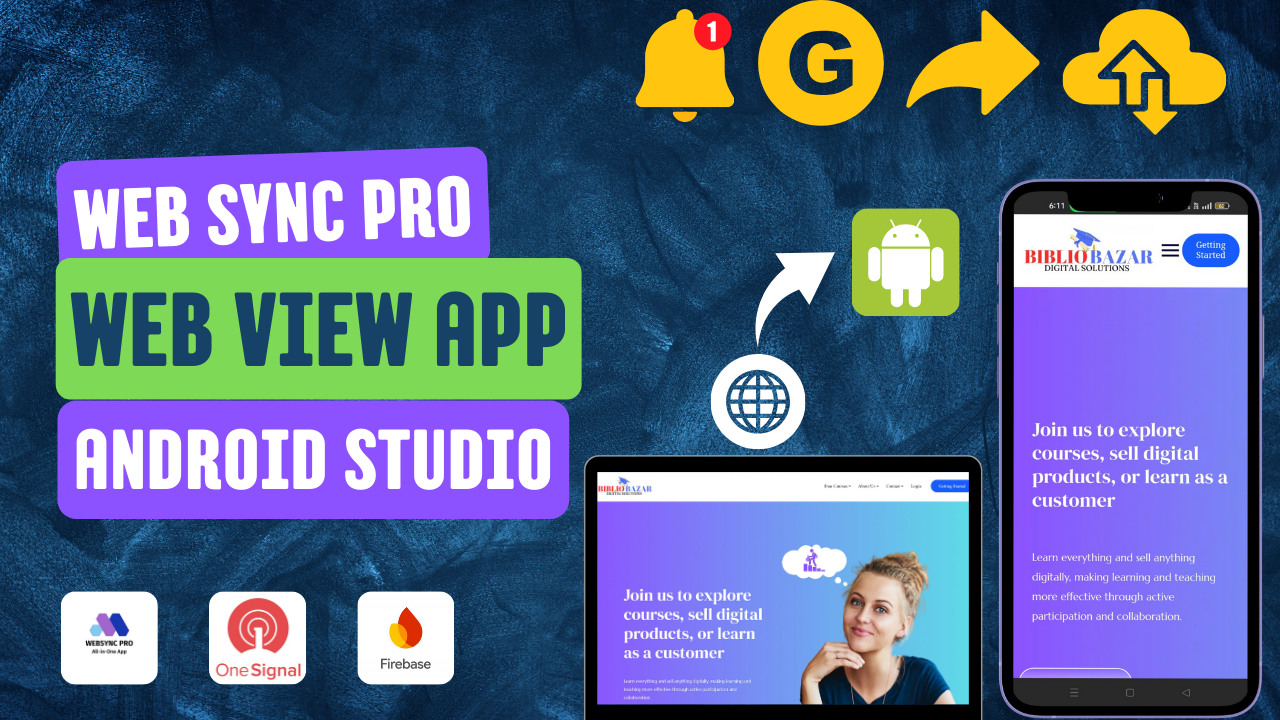

In this guide, you will learn how to modify an existing Android app using Android Studio. From renaming files to integrating push notifications and Firebase, each step will be covered thoroughly to ensure your app is ready to launch.
1. Rename Project Folder Before Opening in Android Studio
- Before opening the project in Android Studio, rename the project folder to your desired app name.
- Example: Change the folder name from “MyApp” to “WebSync Pro” (or your desired app name).
2. Open the Renamed Project in Android Studio
- After renaming the folder, open Android Studio and select “Open an existing project.”
- Browse to the renamed project folder and open it.
3. Update App Name in strings.xml
- Navigate to
res/values/strings.xml. - Find the string resource for the app name, typically under
<string name="app_name">. - Change it to your new app name, for example:
xml <string name="app_name">WebSync Pro</string>
4. Rename Package Name (com.example.app)
- Open
AndroidManifest.xmland replacecom.example.appwith your app’s new package name, for example,com.websyncpro.app. - Refactor the package name across all files:
- In Android Studio, right-click on the package name in the Project view.
- Select Refactor > Rename.
- Choose the option to rename the package and ensure it is updated throughout the project.
5. Create OneSignal Push Notification ID
- Create a OneSignal account and set up a new app for push notifications.
- After obtaining your OneSignal App ID, go to
MyApplication.ktin your project. - Replace the existing OneSignal App ID with the new one in the initialization code:
kotlin OneSignal.setAppId("YOUR_ONESIGNAL_APP_ID")
6. Integrate Firebase into Your Project
- Visit the Firebase Console and create a new project.
- Download the
google-services.jsonfile for your Android app and place it in theapp/folder of your project. - Open the
build.gradlefile (both project-level and app-level) and ensure the Firebase dependencies are added:gradle implementation 'com.google.firebase:firebase-auth' implementation 'com.google.firebase:firebase-messaging'
7. Add Firebase Application ID and Project ID to strings.xml
- In Firebase, locate your Application ID and Project ID.
- Add both to your
strings.xmlfile:xml <string name="firebase_app_id">YOUR_FIREBASE_APP_ID</string> <string name="firebase_project_id">YOUR_FIREBASE_PROJECT_ID</string>
8. Replace Website URL in WebView
- If your app uses a WebView, update the website URL with your own.
- Locate the WebView activity (e.g.,
WebViewActivity.javaorMainActivity.java), and replace the existing URL with your website URL:java webView.loadUrl("https://www.yourwebsite.com");
9. Replace App Icon
- Prepare your app icon in different resolutions (
mipmap-mdpi,mipmap-hdpi, etc.). - Replace the existing icons in the
res/mipmapfolder with your new icons. - Make sure the
ic_launchericon is replaced properly.
10. Replace “No Internet” and Splash Screen Images
- Replace the “no internet” image by navigating to the appropriate drawable folder (e.g.,
res/drawable). - Replace the splash screen image by locating the splash screen layout (
activity_splash.xml) and updating the image.
11. Verify Changes Across All Files
- Double-check if the app name, package name, URLs, Firebase integration, OneSignal ID, and icons have been updated across all relevant files.
- Ensure nothing is missing before moving to the next step.
12. Clean the Project
- Go to Build > Clean Project in Android Studio to remove any cached or outdated files.
- After cleaning, select Build > Rebuild Project to compile the updated app.
13. Add Signing Key to Firebase
- Navigate to the Firebase Console, under Project Settings > App Integrity.
- Add your app’s SHA-1 or SHA-256 signing key, which can be found in the Android Studio Gradle task:
./gradlew signingReport
14. Check Permissions in the Manifest
- Open the
AndroidManifest.xmlfile and review the permissions. - Remove any unnecessary permissions that your app doesn’t require. For example, if you’re not using location services, remove:
xml <uses-permission android:name="android.permission.ACCESS_FINE_LOCATION" />
15. Run and Test the App
- Finally, run your app on a device or emulator to ensure everything works as expected.
- Test push notifications, WebView functionality, Gmail login, and other features to confirm they are working properly.
By following these steps, you will successfully modify the app to meet your specifications. Make sure to test thoroughly before publishing!
-
Blog To Audio Hybrid WordPress Plugin
Blog to Audio – Hybrid (Bibliobazar Edition) converts WordPress posts into audio with a free browser-based text-to-speech player and a powerful AI audio option. PRO features unlock high-quality ChatGPT/OpenAI voice generation, smart playlists, and cross-device sync using a secure Bibliobazar license key. Built with signed token protection, rate limiting, and modern caching for fast, secure…
Original price was: ₹499.00.₹99.00Current price is: ₹99.00. Tax Included -

Bibliobazar Chatbot Free Version
Transform Your WooCommerce Store With Bibliobazar Chatbot Free Version Looking for an intuitive, cost-effective tool to streamline customer interactions on your WooCommerce store? The Bibliobazar Chatbot Free Version is the solution you’ve been waiting for. Designed with cutting-edge technology, this chatbot delivers reliable and efficient support, helping your business cater to customer concerns 24/7. Whether…
₹0.00 Tax Included -
Bibliobazar ChatBot
Bibliobazar Site Aware Chatbot (WordPress Plugin) Bibliobazar Site Aware Chatbot is a customer-support chatbot for WordPress that can answer visitor questions, suggest relevant courses or digital products, and guide customers to the right pages. The chatbot works as a normal assistant in Free mode, and supports advanced site-aware features when Content Sync is enabled.…
Original price was: ₹5,000.00.₹99.00Current price is: ₹99.00. Tax Included -
WebSync Pro
WebSync Pro is a complete WebView app source code with built-in features like notifications, Google login, location access, no internet screen, and more. —No Customer Support—-
Original price was: ₹5,000.00.₹499.00Current price is: ₹499.00. Tax Included -
Billing Software Simple by Bibliobazar Digital Solutions
Effortlessly manage your billing and invoicing with Billing Software Simple by Bibliobazar Digital Solutions. Designed for businesses of all sizes, it offers easy-to-use features for generating invoices, tracking payments, and managing client records.
Original price was: ₹2,500.00.₹500.00Current price is: ₹500.00. Tax Included